Nectarine and Strawberry Jam
- Jams, Jellies & Marmalades

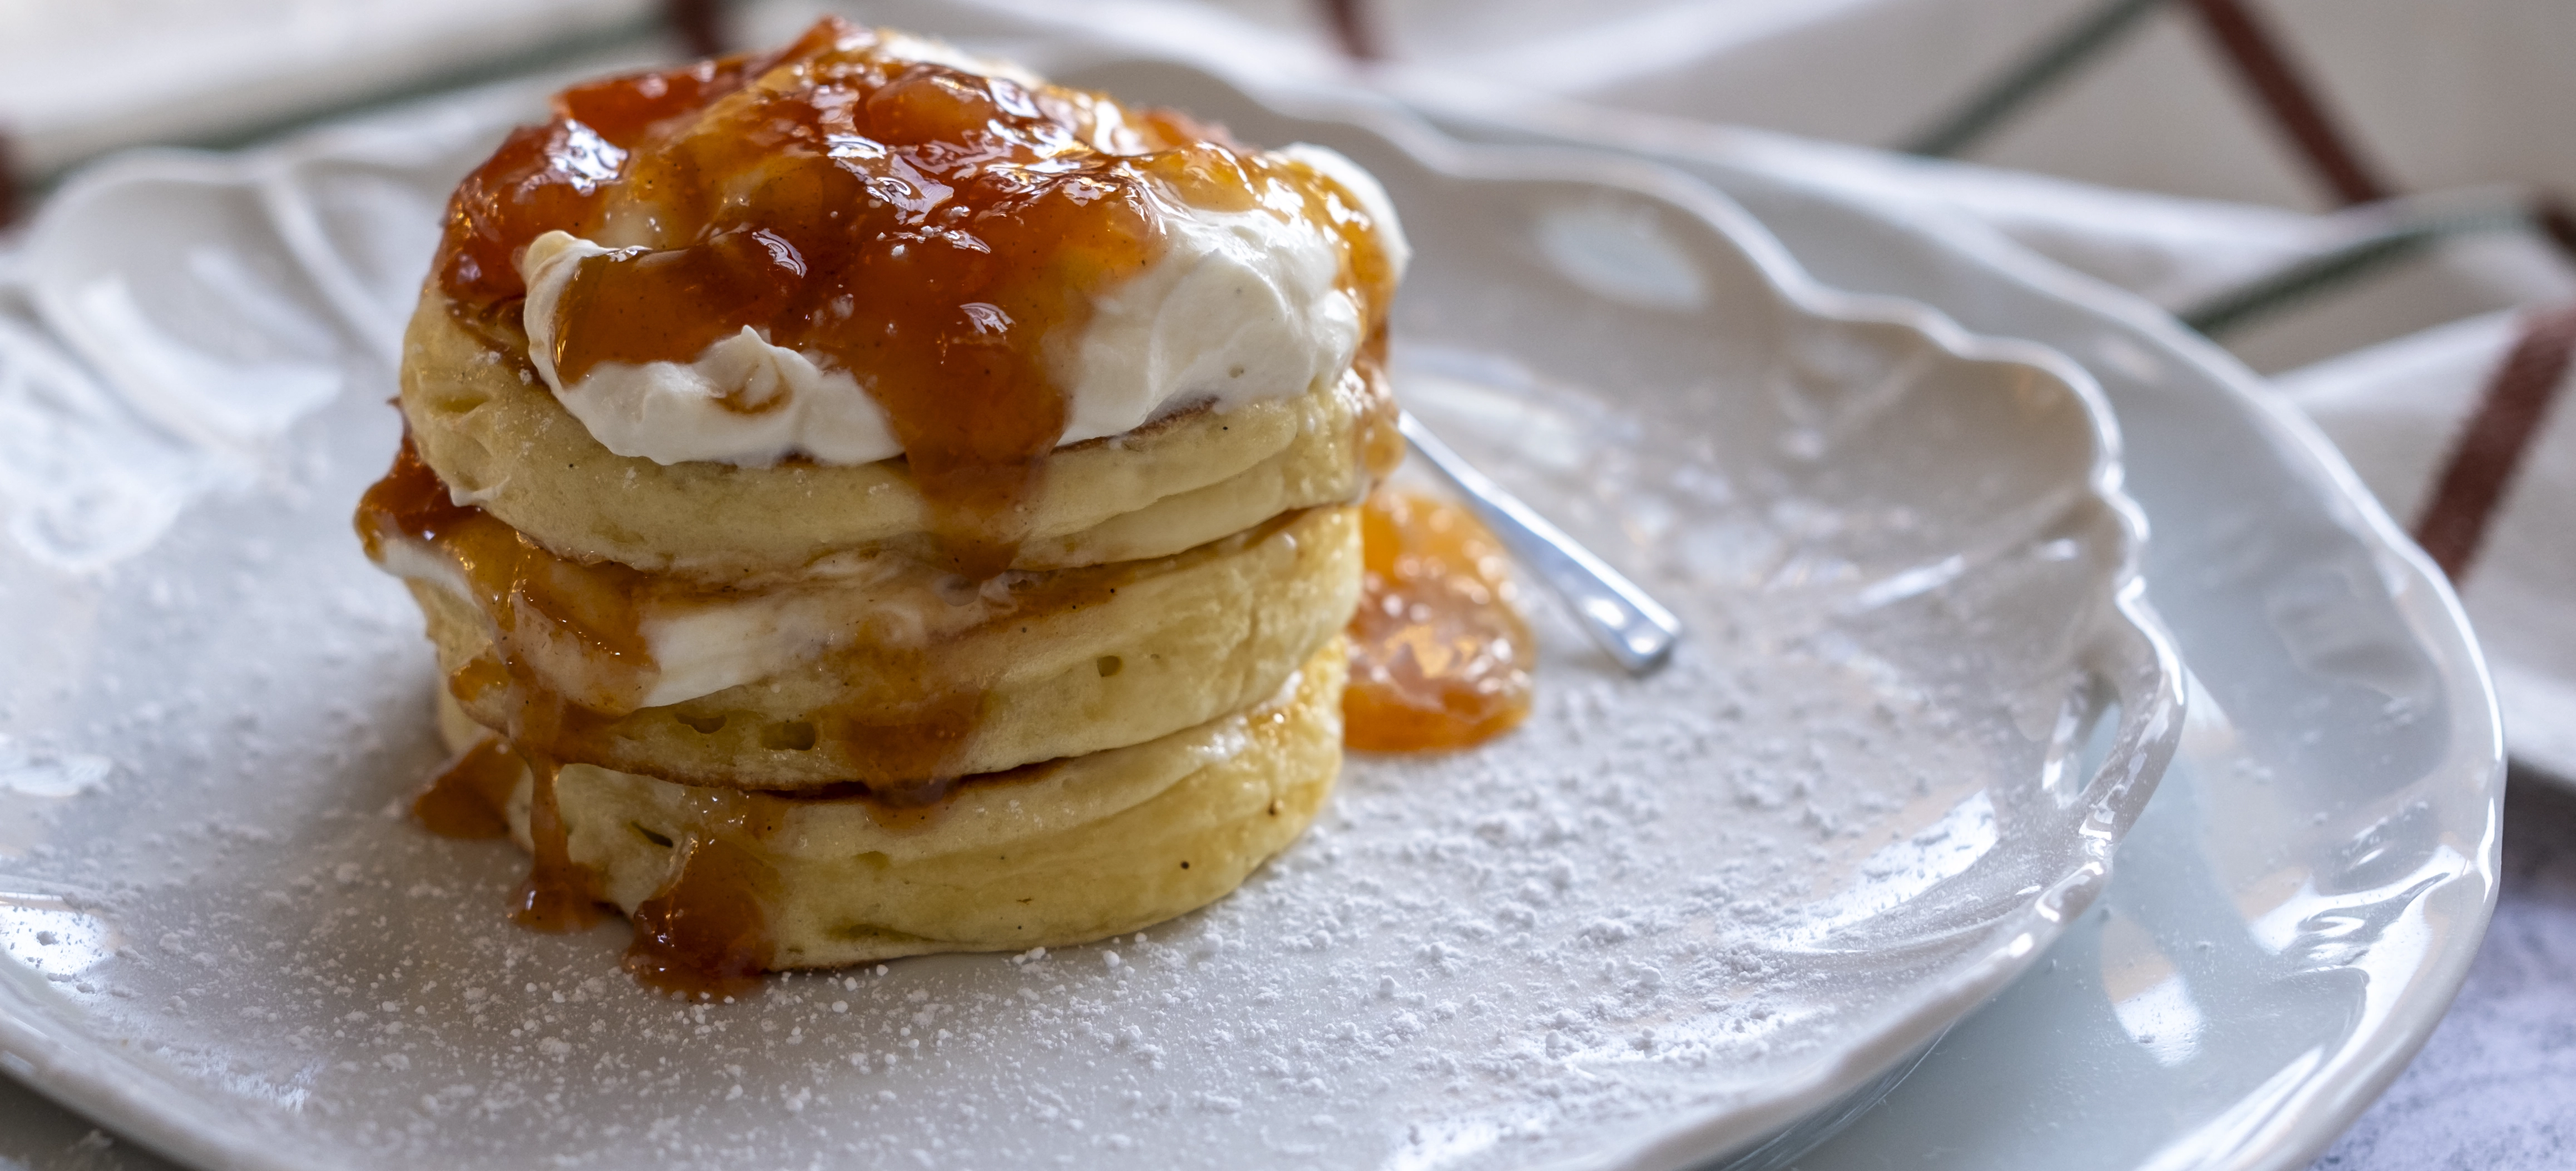
Summer celebrates the berry and stone fruit season. Combine luscious strawberries and nectarines with this special macerating technique and wow, what an amazing artisanal preserve you’ll have gracing the table. This technique draws out additional colour and flavour from the fruit and surpasses the traditional jam making process. The extra time involved is worth it. This luscious hypnotic jam will leave you hankering for more!
- Preparation Time:
- 40 minutes
- Cooking Time:
- 45 minutes
- Quantity:
- 3 x 350 ml jars
PREPARATION
Hot dry sterilised sealable glass jars and lids ready for the bottling stage
Warm sugar

INGREDIENTS
- 320g
- Strawberries, ripe
- 480g
- Nectarines, ripe
- 3
- Oranges, juice & zest
- 480g
- White, sugar
METHOD
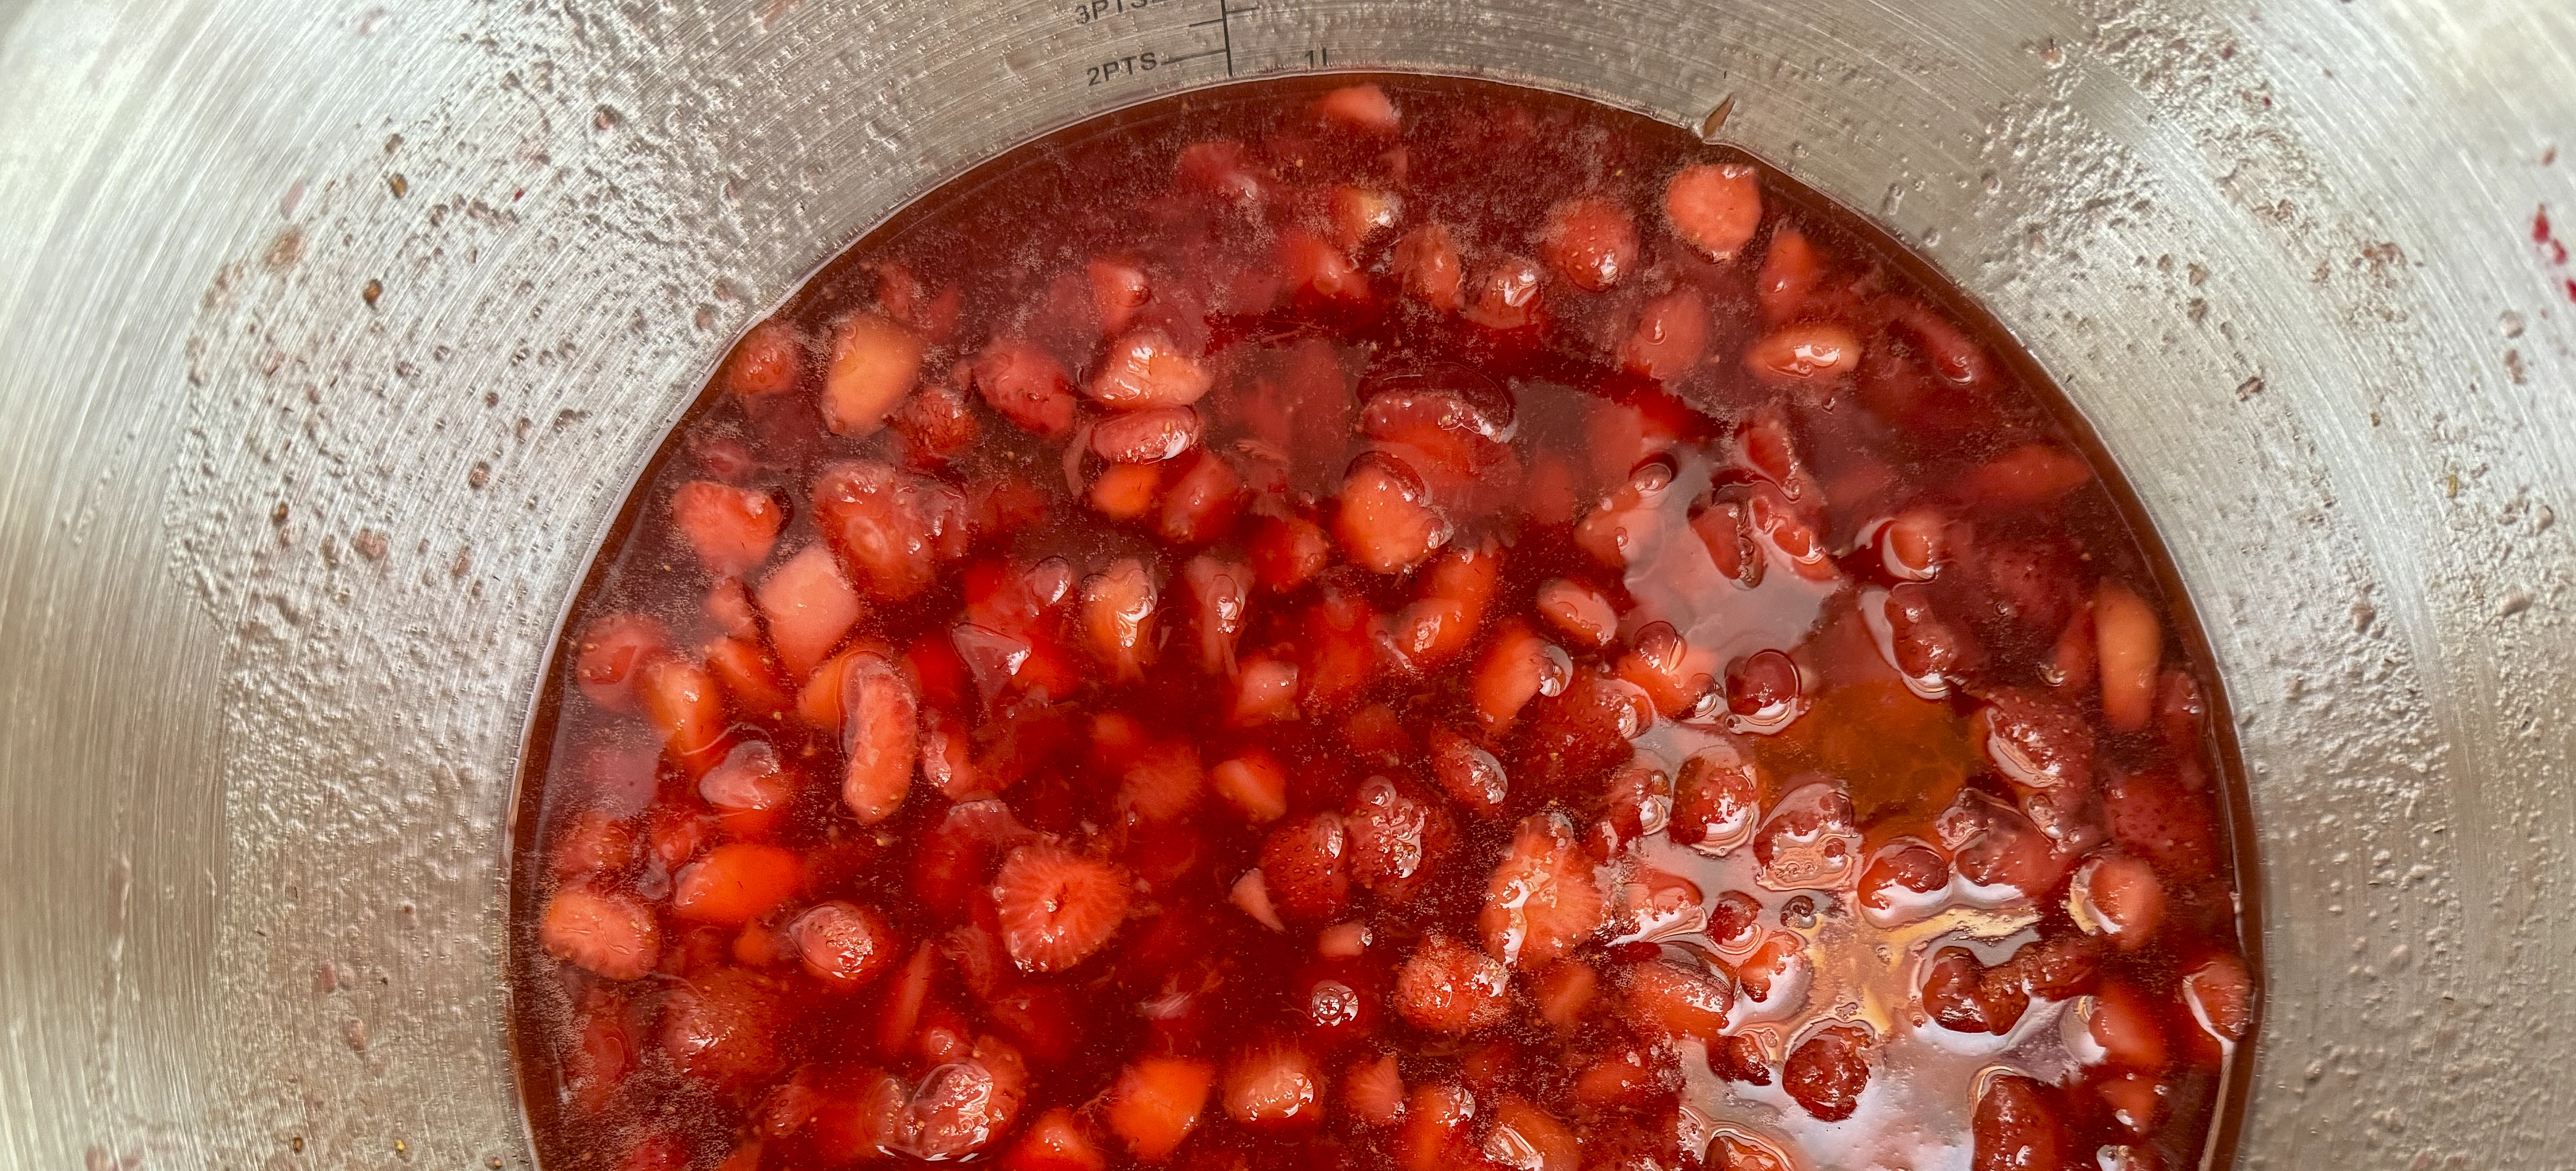
Day 1: Partially boiled fruit is macerated overnight in the fridge to extract more colour and flavour.
Day 2: Juice and fruit are separated. Fruit is added back to the boiling juice. Mixture is boiled until setting point is reached
 Day 1: Partially boiled fruit before overnight maceration in the fridge
Place the sugar in the oven to warm. Refer Notes Section: To Warm Sugar for more information if required.
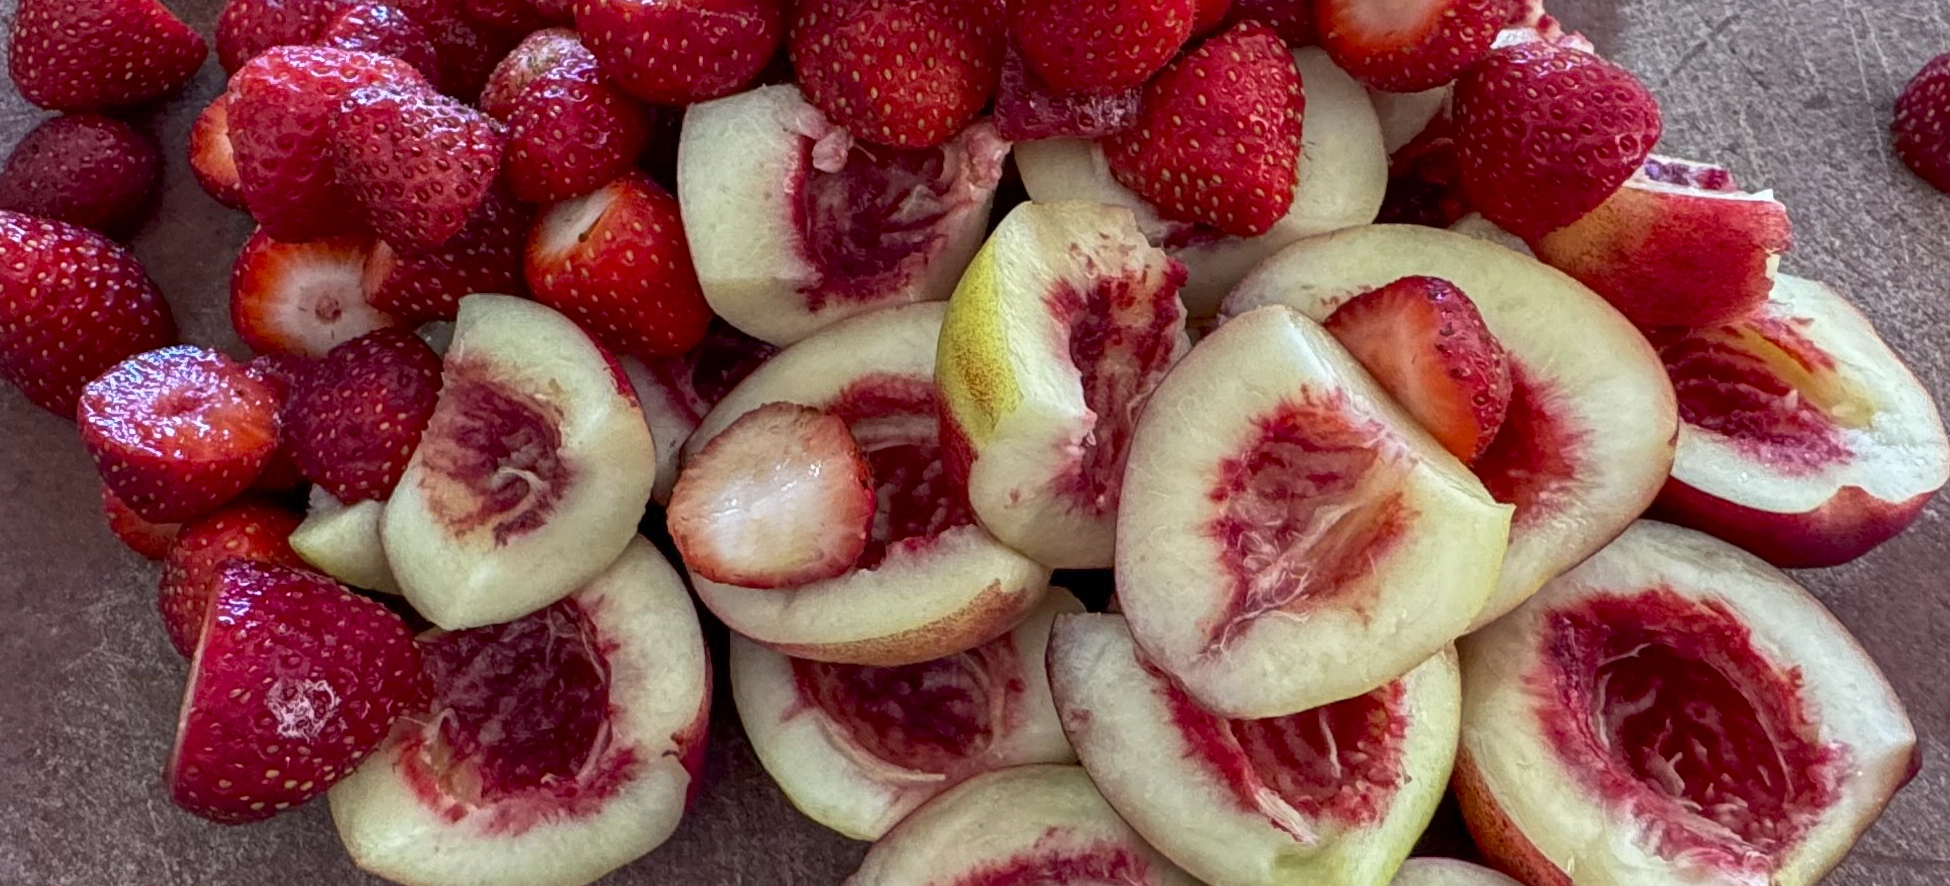
Wash the strawberries, nectarines and oranges to remove any dirt or unwanted residues and garden debris. Remove the excess moisture by gently patting with clean dry paper towel or a tea towel.
Remove the green cap of leaves (calyx) from the top of the strawberry. This is also referred to as “ hulling”. Using a small paring knife, remove any bruised, mouldy, or damaged parts of the fruit. Cut any large strawberries in half.
To destone the nectarines, insert a small sharp knife until you feel the stone. Then carefully cut around the middle of the fruit along the natural crease that runs from the stem to the tip. Using your hands, twist each of the halves in the opposite direction to separate the fruit from the stone. To remove, use a spoon to run around it and then dig up under the stone to release it. If this is too difficult carefully lever it out with a table knife.
Leaving the skin on, cut into 2-3cm cubes. Discard the stone. Using a grater, zest the oranges. Cut in half, juice and remove the seed.
Place the prepared fruit and the orange juice and zest and warmed sugar into a stainless-steel preserving pan or heavy-bottom stainless-steel pot. Using a wooden spoon, stir well to create a syrupy mixture.
Place on the heat and gently bring to a simmer ensuring the sugar is dissolved. Remove from the heat, without boiling, and allow to cool. Transfer into a container and refrigerate overnight.
The next day, strain the fruit from the juice. Place the juice in a stainless-steel preserving pan or equivalent and bring to the boil. Add the fruit back in. Bring back to the boil and boil rapidly until the setting point is reached.
When the jam has reached the setting point, remove it from the heat and place on a heat-resistant board and allow to sit for 5 minutes. If bottled immediately it’s likely the fruit pieces will rise from the bottom of the jar.
Using a wide-necked funnel, ladle into warm sterilised jars to within 2.5 cm (1 inch) from the top, distributing the fruit evenly between the jars. Seal immediately with hot dry lids. The HHH method of HOT dry jars, HOT dry lids and HOT jam creates a vacuum seal as it cools. The “popping” sound, often heard in the kitchen, signals a successfully vacuum sealed jar.
If there are no lids, seal with paraffin wax while the jam is hot. Cover with cellulose or plastic film and secure with a rubber band or kitchen twine. Refer to the Notes Section: Sealing with Paraffin Wax below for more detailed instructions. Alternatively allow the jam to completely cool and seal with a sterilised cold screw top lid.
The HHH method of sealing is preferred as there is reduced risk of contamination prior to sealing.
Once the jars have cooled, wipe down to remove any spillage and label.
Store in a cool dark place in the kitchen or pantry.
Allow the jam to mature for at least 2 weeks before eating.
NOTES
- Choose ripe but not over ripe or mushy fruit and never use mouldy produce as this produces a poor-quality jam.
- Choose firm strawberries. Fresh from the garden, a farmers’ market or a Pick-Your-Own farm will provide a more flavourful and aromatic jam.
- This will be a soft set jam as strawberries and nectarines are low in acid and pectin and require the addition of citric acid to help make them set. Lemon and lime juice are amongst the richest sources in the citrus family. I’ve used orange juice to provide the citric acid, another flavour dimension and additional colour to the jam. If for some reason, the jam has difficulty in setting, add the juice of a lemon.
- The proportion of nectarine and strawberry can be changed, providing the total fruit weight remains the same for the specified amount of sugar.
- Kitchen twine, also known as butcher’s or cooking twine, is made from either 100% cotton, linen or a cotton/polyester blend. The best and safest is the 100% natural cotton as it withstands long cooking, does not impact flavour into cooked food and is food safe. Do not replace natural twine with either polypropylene or polyester or a blend of these with a natural twine as they aren’t oven safe. If you purchase a natural kitchen twine it will be safe for all your cooking needs. It’s sold in kitchen equipment stores or stores that sell twine.
- If you do not have a preserving pan, use a large heavy bottom pot, preferably stainless steel
- This will distribute the heat evenly across the pot and the jam while it is cooking. Ensure there is enough space available in the pot for the mixture to double in size while it is rapidly boiling.
- Good quality jars should be used in all preserving, particularly when they are processed in a hot water bath. Thin jars often cannot withstand the temperatures and may crack either in the bath or on and or after removal. Avoid the disappointment and invest in some good jars from a homewares or preserves outlet.
- Cooking times are an approximation only. They are provided as a guideline as cooking times are influenced by the type of pot and its diameter and height, speed of cooking and fruit ripeness, size, and moisture level.
- To Warm the Sugar
- Put the recipe quantity in an oven proof container and place in a preheated 150 degrees C oven for approximately 10 minutes. The sugar should be warm throughout the bowl.
- Once added to the hot fruit mix ensure the sugar has completely dissolved before boiling, otherwise the sugar may crystallise later in the jar.
- Warmed sugar dissolves quickly and then a rapid boil, until the setting point is reached, helps to preserve the fresh fruit flavour. Long slow simmering affects the colour and reduces its flavour.
- Removing the Scum
- Jam, jellies, and marmalades can produce a scum while they are boiling. Impurities from the fruit and sugar will rise to the surface and a fine frothy foam will move towards the edge of the preserving pan.
- Some fruits produce more scum than others.
- This is a natural self-clarification process and makes the task of making a high-quality preserve easier. Removing the scum increases the preserve’s clarity. This is very important if it is being submitted for competition.
- Remove the scum before bottling. Using a stainless-steel spoon, skim the scum from around the edge of the preserving pan. Be careful to remove just the scum and not the jam. This can be done while the jam is boiling and/or once it has been taken off the heat.
- Do not attempt to remove the scum from the centre of the boiling jam, as there is an elevated risk the jam will splutter and hot jam burns.
- Sealing with Paraffin Wax
- Paraffin wax is available in speciality preserving and some rural hardware stores.
- The melted wax must be poured over the preserve while both are hot.
- Break the wax into small pieces and heat in a bowl set over a pan of hot water. Bring the water to the boil, reduce the heat to maintain a gentle simmer until the wax is just melted.
- Do not overheat. If it gets too hot it will shrink away from the sides of the preserving jar as it cools. This will break the seal and allow impurities to access the contents, encouraging mould growth.
- Working quickly, pour a thin layer over the hot preserve. Using a small wooden cocktail stick, toothpick, or cake skewer, prick any air bubbles.
- Allow the wax to set. Then pour a second thin layer to make a seal approximately 3mm thick.
- When the wax has set it will become opaque and dip slightly in the middle.
- Cover the jar with a cellophane disc and secure with a rubber band/kitchen twine.
- To use the preserve, break the wax seal and remove. Discard or wash thoroughly, dry and re-use later as required.
- Sealing with wax is not a longer-term storage solution. Use within a couple of months. Once opened store in the fridge.
- Did You Know?
- Nectarines are just peaches without the soft downy fuzz on the skin. Genetically they are identical except for the "fuzz skin" gene. Both soften but will not ripen further after harvest, so its important to try and find tree ripened fruit. They are either a clingstone or free stone variety and have either a white or yellow flesh.
- As for the strawberry, it’s called a berry, but it’s not a berry at all. It has a unique form. The seeds are on the outside! The average strawberry has 200+ seeds. Obviously not an appropriate food choice for diverticulitis sufferers. For more miscellanea on the humble strawberry check out my post A Miscellany of Strawberries
